4 UAV imagery
Once you have understood what is required to collect aerial imagery using drones, the site mapping exercise and the use of drones has been discussed with the various affected stakeholders, a risk-benefit assessment has been conducted and approvals and permissions has been received from relevant actors, you are ready to start planning the flight.
4.1 Obtaining a drone kit
On request, the Global CCCM team in Geneva can coordinate, with the support of the site mapping team, the deployment of a drone kit located at IOM HQ. IOM staff can reach out to CCCM Support globalcccm@iom.int with a brief description of the site mapping exercise and the intended use of the site maps, as well as the risk-benefit assessment and approval from IOM LEG colleagues. If and when available, the drone kit will then be sent with staff deployments or shipped to the requesting mission.
Online courses are available to accompany first-time UAV operators such as displacement site planner Andrea Cippa’s 5-part tutorial on mapping with drones available here.
IOM staff planning on using the CCCM deployable drone kit should register and complete the following online course and present certification upon requesting the kit. Whilst you may not plan to operate the drone in Switzerland or the EU, the certificate will show an understanding of how to operate drones and depending on the requirements of the intended country of flight, certification issued by an ICAO member state is required. Switzerland is a member state (The full list of member states can be found here).
As a drone pilot, you are responsible for operating your UAV safely. It is crucial to check your drone is registered with the national authority and the registration number is displayed on the drone. The following is a simple checklist applicable to open category drones weighing under 250g with a camera. Please note this list may differ between country so it is very important to always check the national aviation authorities website.
- Insure the drone and carry the insurance certificate with you when operating the drone;
- Check no-fly zones any potentials obstacles in the planned flight area;
- Maintain visual contact with your drone at all times;
- Maintain a safe distance between the drone and people, animals, buildings, infrastructure, or other aircraft;
- If there is an accident with the drone which results in a serious or fatal incident with a person or other aircraft, inform the national aviation authority;
- Familiarize yourself and carry with you the manufacturer’s instructions.
The main things to remember whilst flying a UAV are: - Do not fly over gatherings of people; - Do not fly above 120m from the ground; - Do not fly near an aircraft or in proximity of airports or helipads; - Respect peoples’ privacy; - Do not use the drone to carry and or drop items. - Do not fly at an altitude which would allow the identification of people from the imagery captured.
4.2 Registration and certifications
Depending on the context, you may need to register with the relevant aviation authority of your country and complete a certification to receive the necessary license. Whether you need to register the drone, yourself or obtain a license/ certification to fly it will also depend on the type of UAV you are planning on flying. It is important to always check local rules and regulations and therefore flight requirements before use as these may change over time.
To determine what kind of paperwork you need to fly the UAV, you should determine the weight and type of UAV you are planning on operating. In most contexts, if the UAV weighs less than 250g but has a camera or another type of sensor which could be used to gather personal data, registration and certification to operate it will be required.
4.3 Pre-flight
Prior to the flight, consider the following: 1
Documentation: Consider what documentation you need to carry with you while operating the UAV. In some contexts, proof of competence and an insurance certificate need to be with the operator during the flight.
Weather: Most UAVs are not waterproof and therefor it is important to check precipitation forecasts in the flight area of interest. Wind speed also has an adverse effect on drone flight. Both type and size influence the susceptibility of drones to wind. Smaller drones, such as the DJI Mavic Mini for instance, have a wind speed operating ceiling of approximately 18km/h. Clouds, if above the flight altitude can have a positive affect as they act as a giant soft-box scattering sunlight, but if they are rolling may cause inconsistencies with light exposure. If possible, it’s best to fly around the middle of the day, when the sun is overhead, to limit shadows in the imagery.
Stakeholder engagement: Assuming regulatory processes have been followed, it is important that the population in the site area of interest is fully informed of the planned flight and understands the objective, that there is acceptance of the activity and that there is a communication channel in place for the community to voice any complaints or feedback.
Hardware checks: Make sure that all batteries are charged and that all required equipment is functioning.
Pre-identify takeoff and landing sites: A suitable area will be free of obstructions such as trees or overhead wires and away from move foot or road traffic.
Create a flight plan: This includes the planned route, with altitude, overlap and takeoff/landing areas pre-programmed. There are restrictions on where and how high the drone can be flown such as within a certain proximity to airports or military bases, buildings, residential areas, people or gatherings of people. Identify potential obstacles and restricted areas in the flight area and familiarize yourself with the minimum distance to keep away from these. Ensure you will be able to maintain “VLOS” or Visual Line of Sight/ contact with the drone at all times throughout the flight.
4.3.1 Nadir vs oblique images
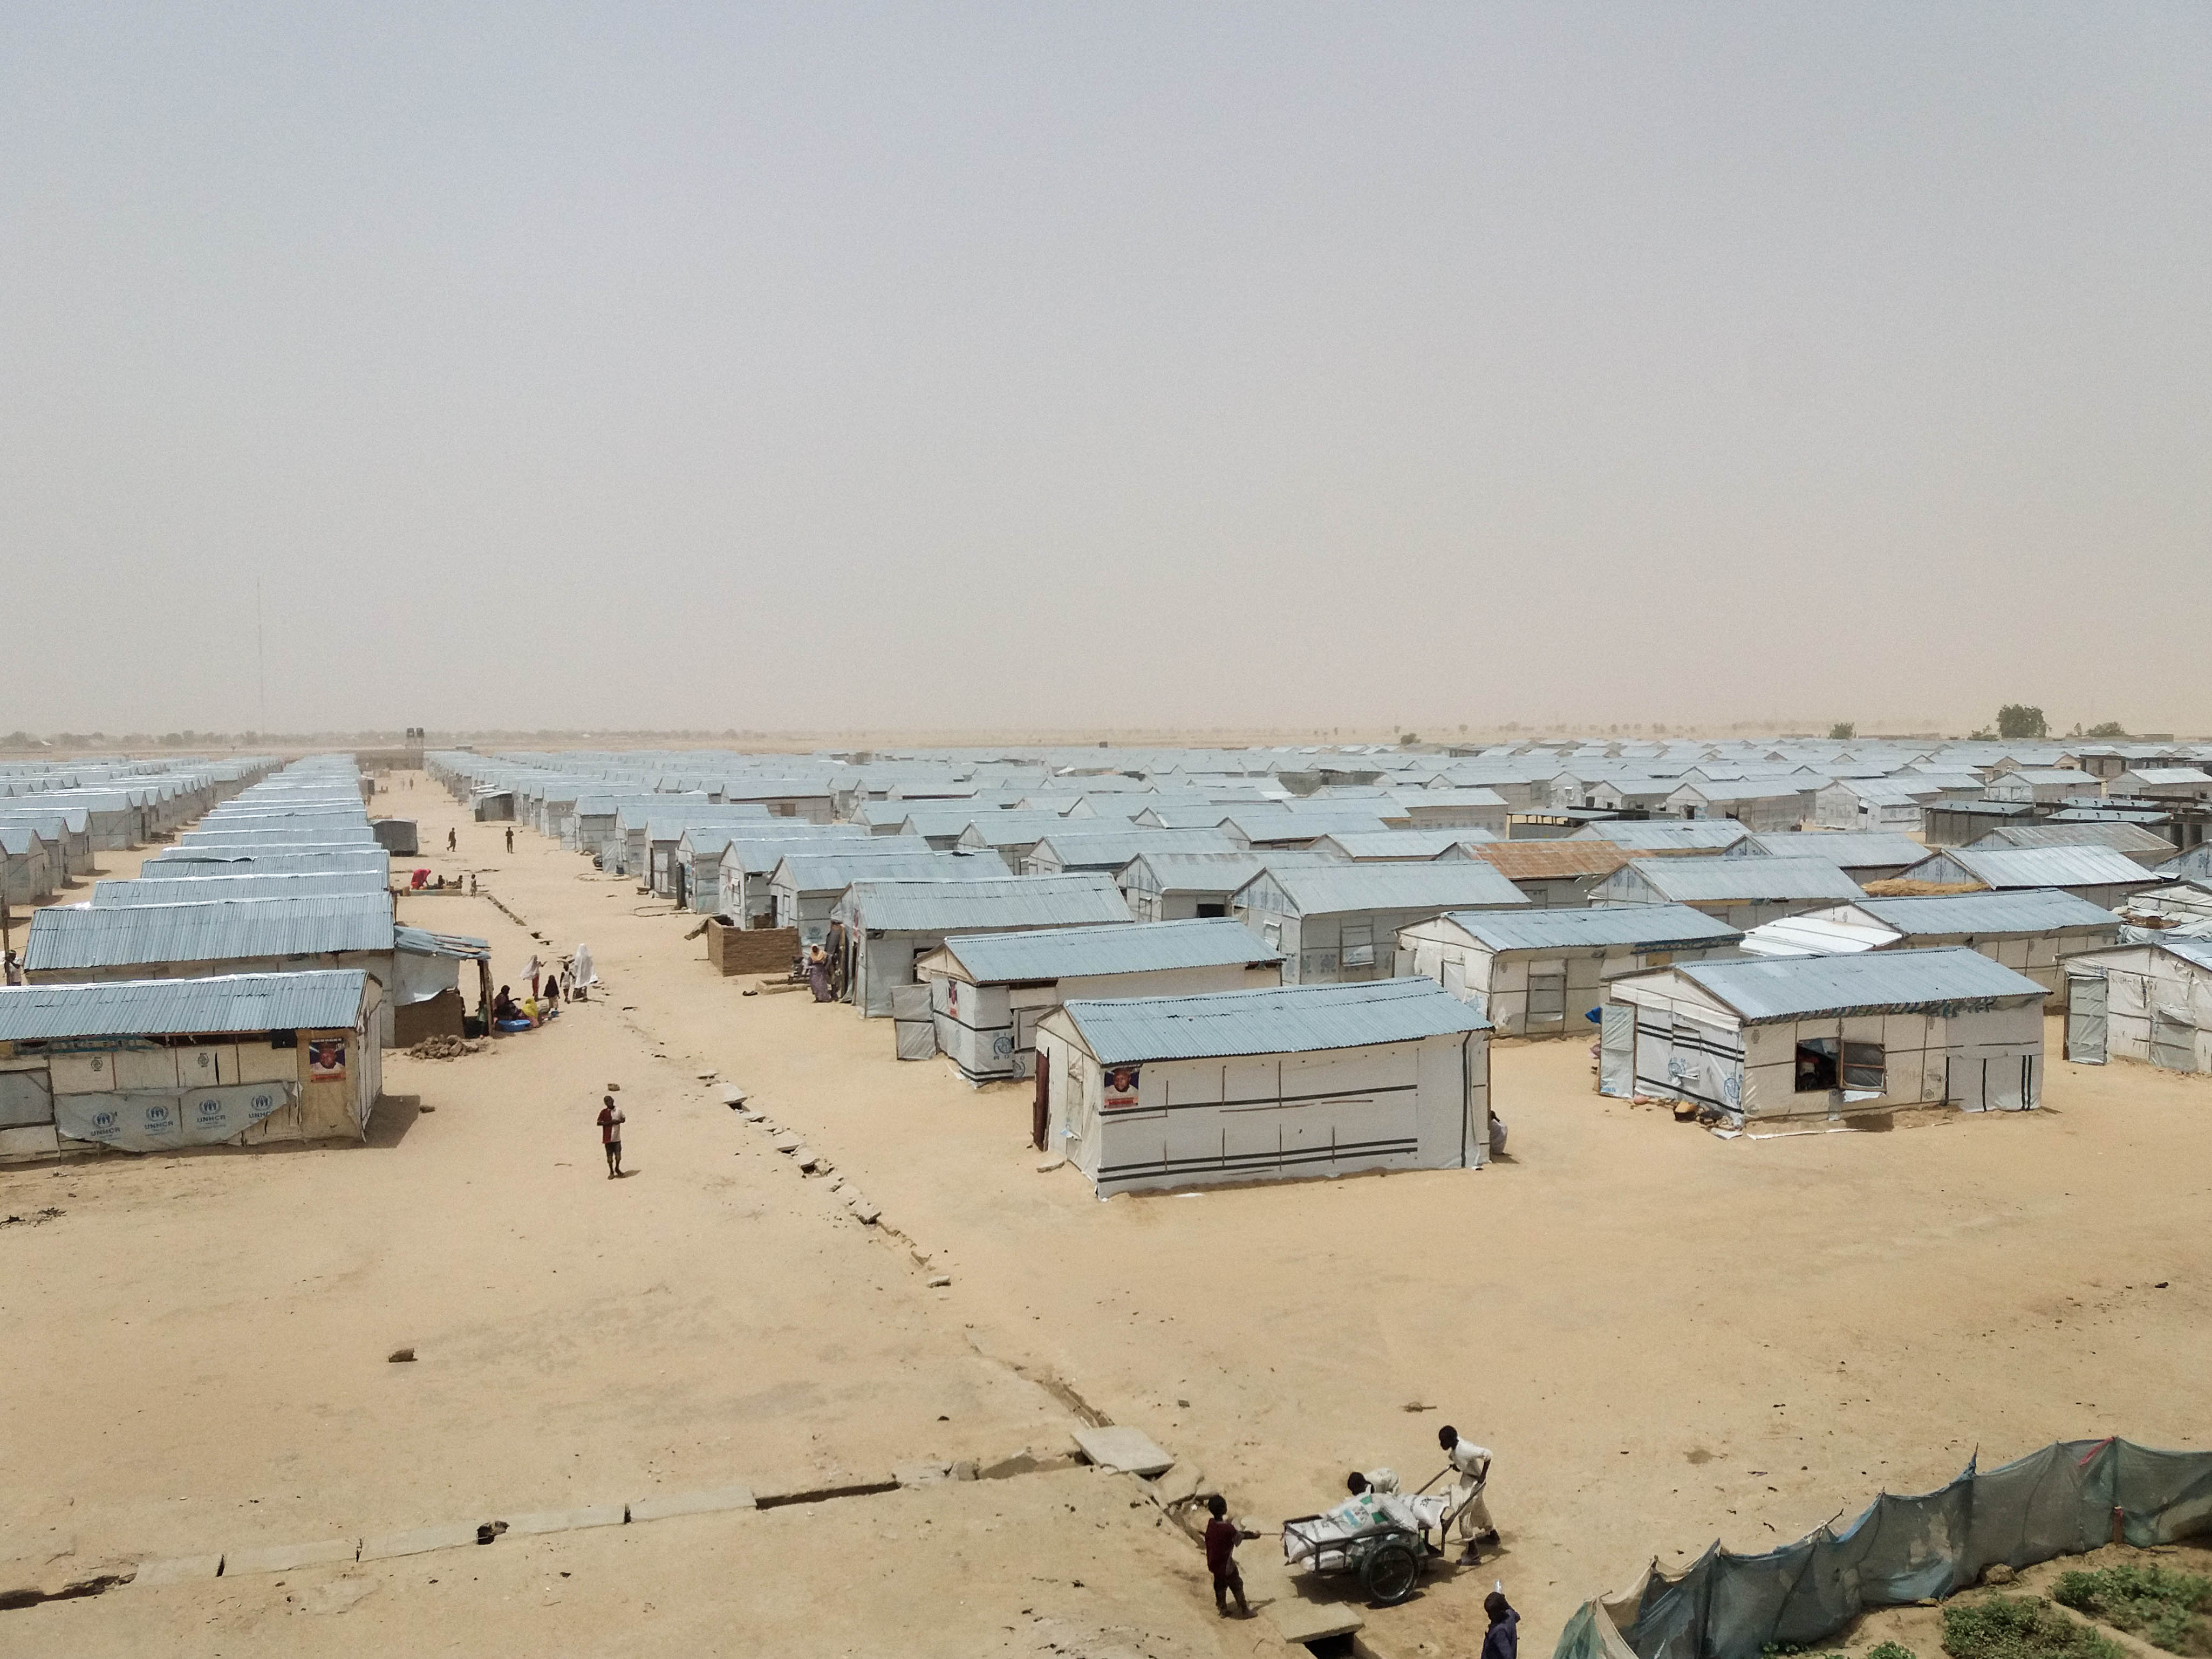
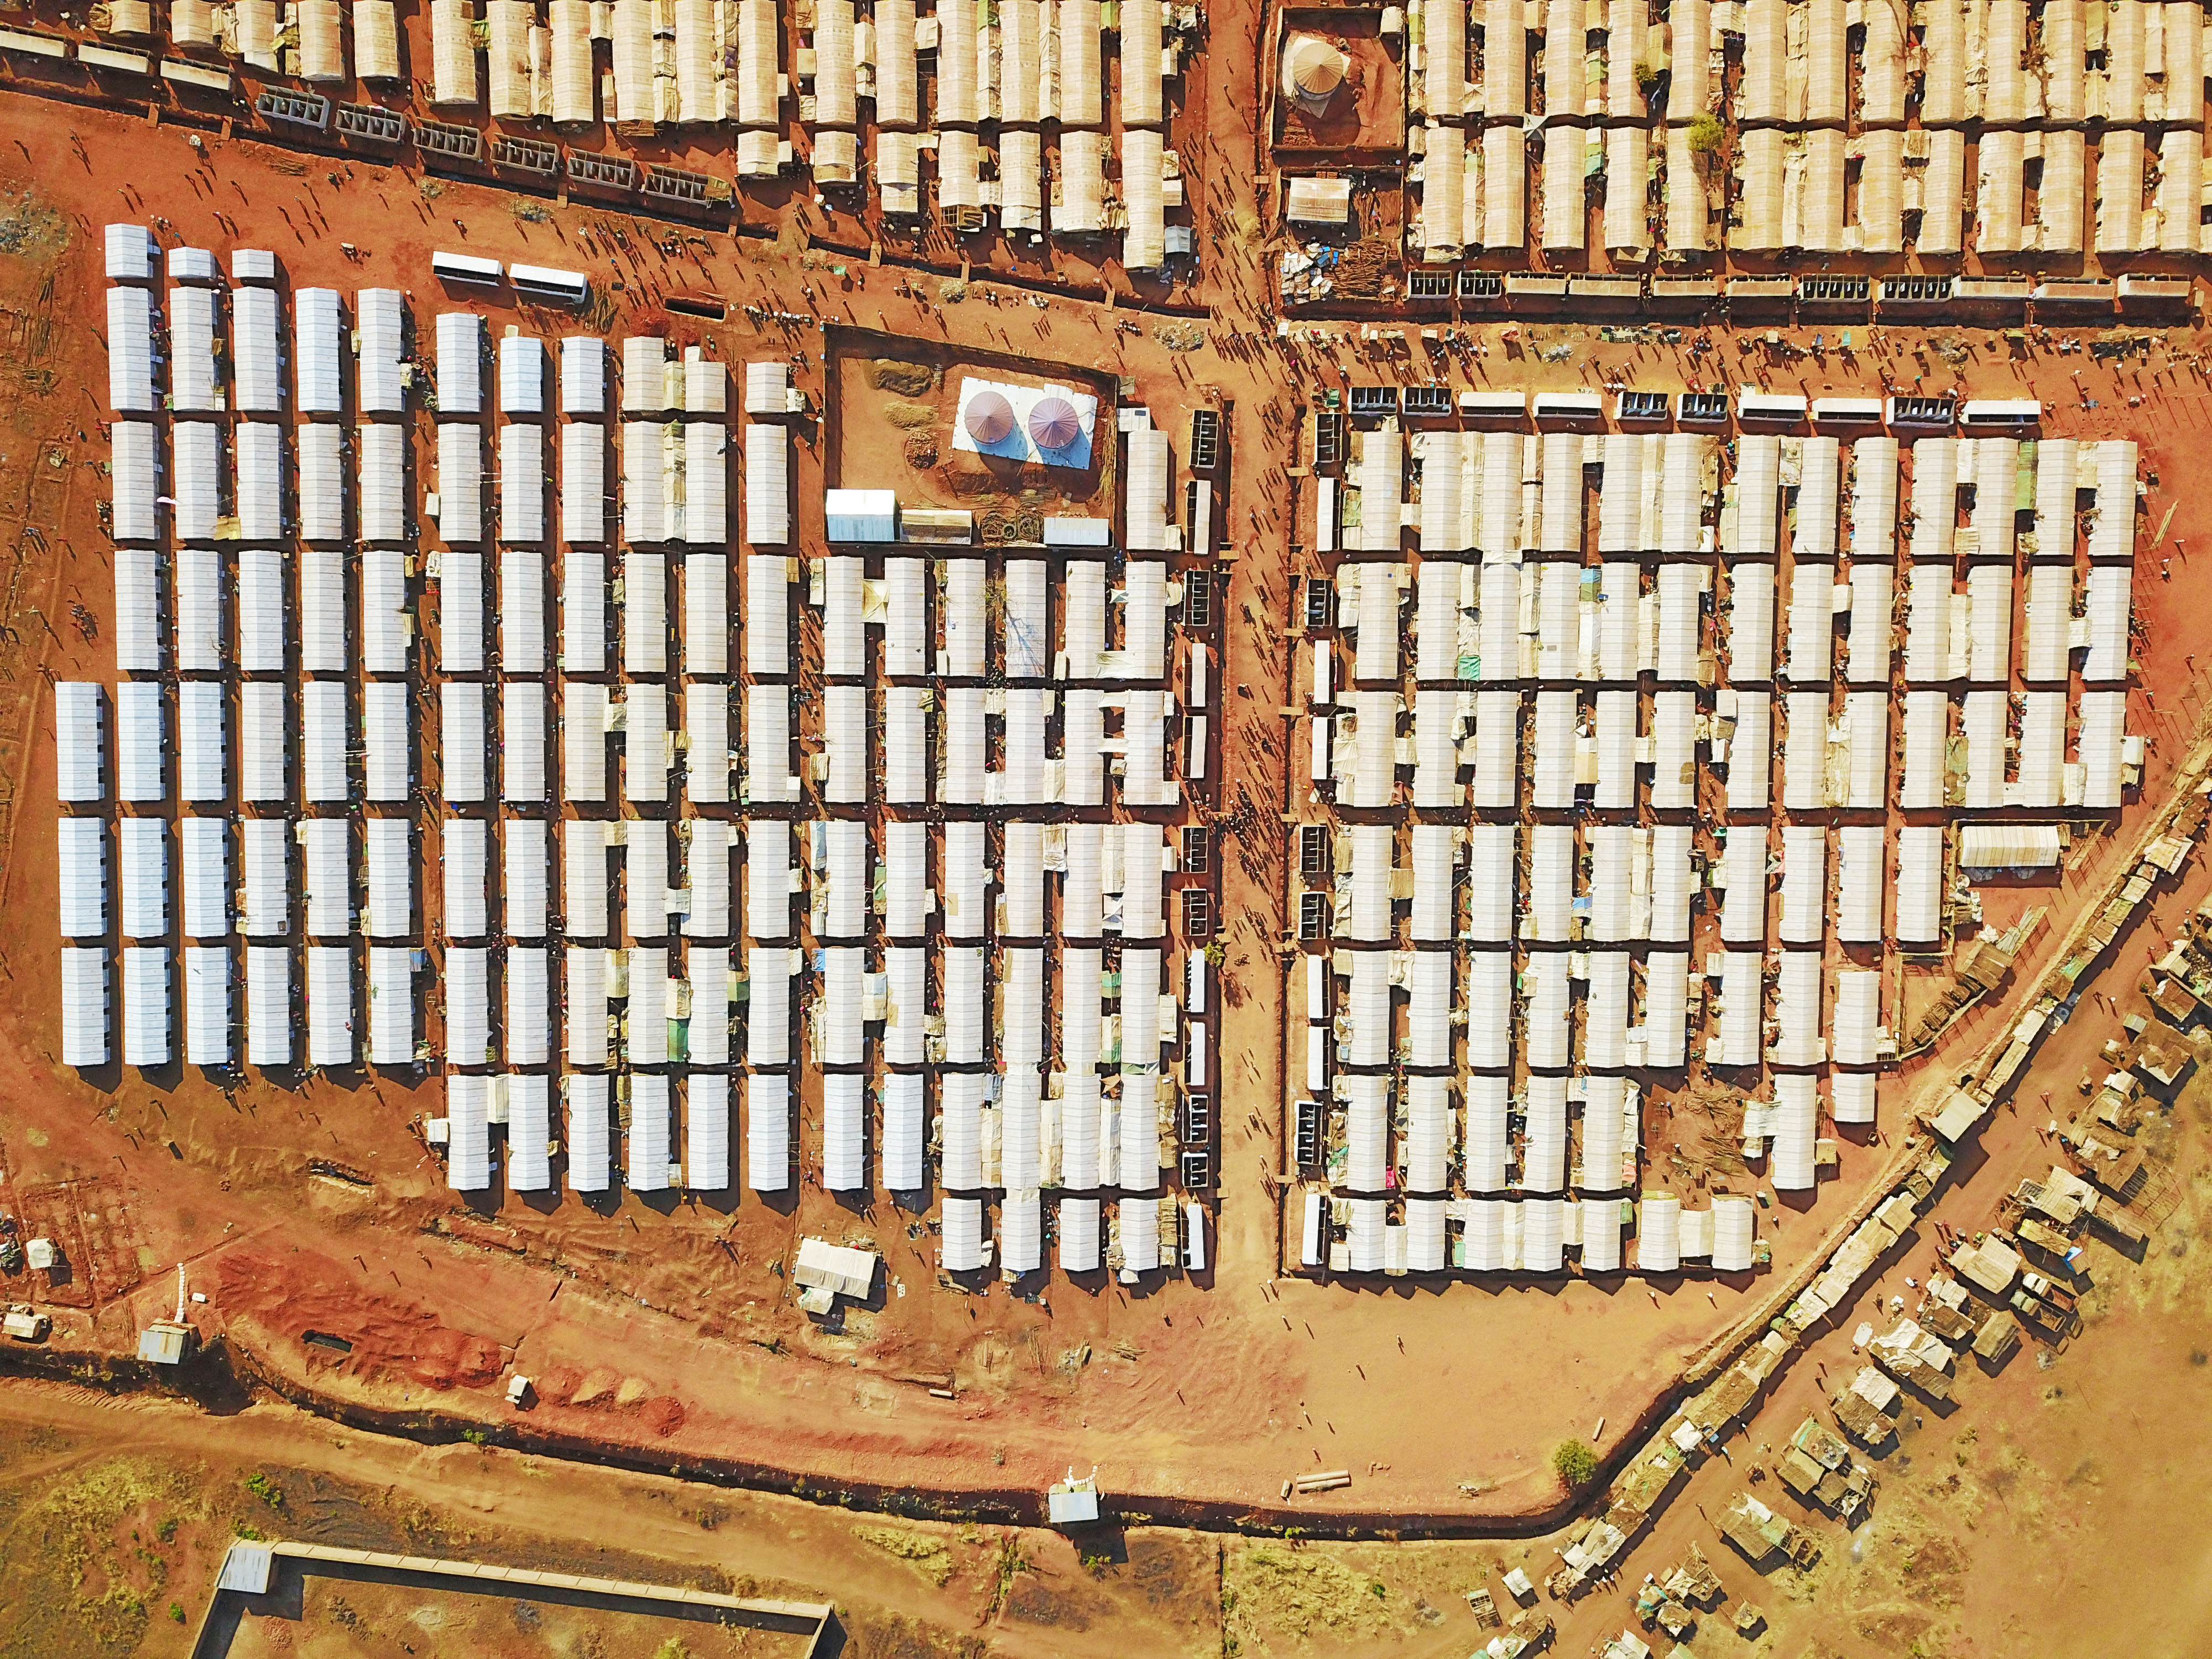
The image captured when a drones camera faces directly down is called a nadir image. For creating an orthomosaic of a site, nadir images are preferred to oblique images which are more suited to tasks such as 3D modelling.

Source: IOM

Source: IOM
4.3.2 Ground control points
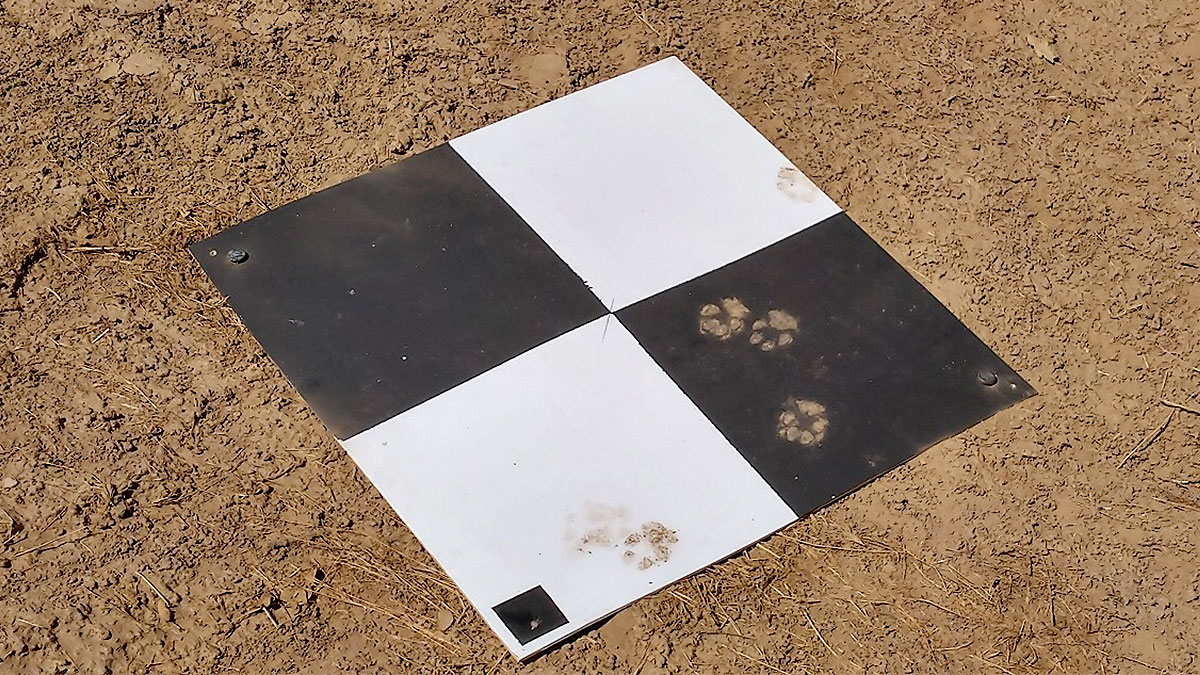
Ground control points are marks created on the site as reference points to match specific points on the image to specific coordinates within the site. They provide a great degree of accuracy for the image that relying on the GPS of the drone by itself.
Use a minimum of 3 GCPs and capture the coordinates of each GCP centrepoint with a Phone or handheld GPS for an accuracy level of 1-3 metres. For accuracy of 1cm a specialised Real-time kinematic positioning (RTK) kit is required.

Source: Pix4d
4.3.3 Path and image overlap
A minimum of 16-31 images are needed to create an orthophoto from drone captured imagery with WebODM. Images should averlap by 70-72%.
- Minimum number of images captured: 16-32
- Minimum image overlap: 70-72%
- Minimum image overlap for 3D: 83%
4.3.4 Flight altitude
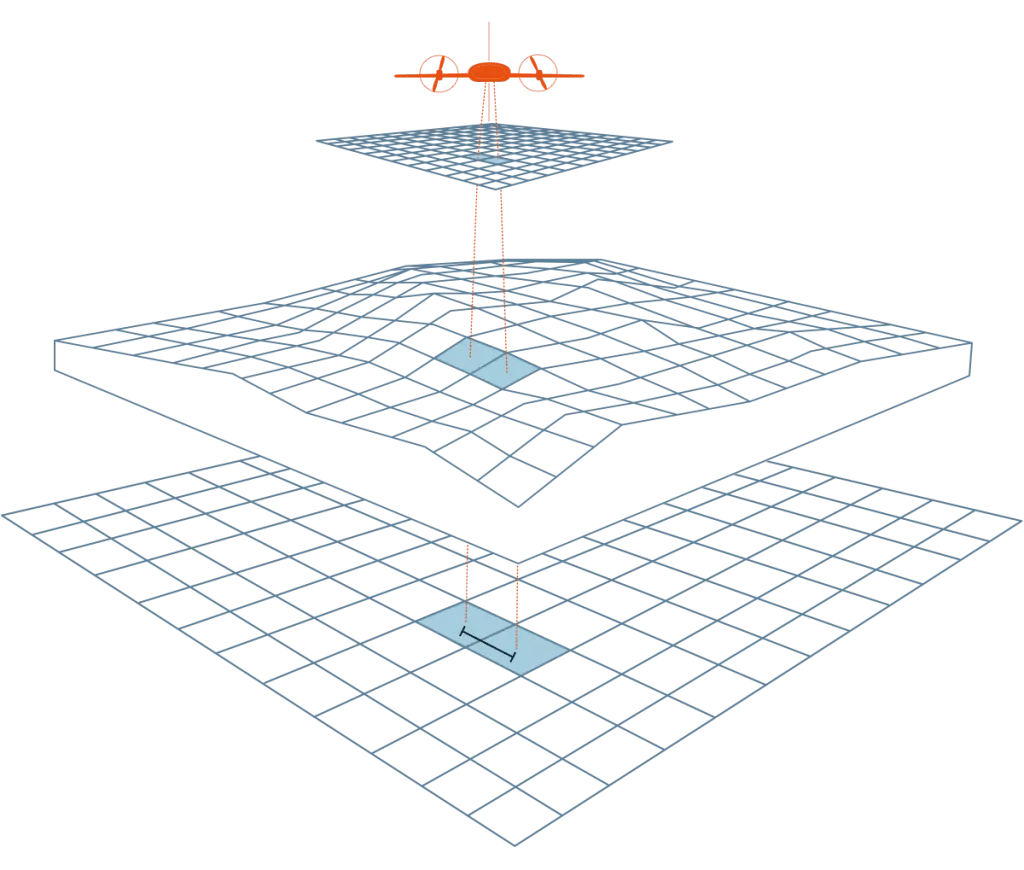
Ground Sampling Distance (GSD) refers to geographic area represented by one pixel of an image. It reflects the resolution of the image, with flight height and image sensor resolution being the two biggest determining factors. For site mapping a GSD of 2.5cm2 - 1cm2 is the range most suitable. Most flight planning software automatically calculate the GSD based on an entered flight altitude. The flight altitude should also consider potential flight obstructions such as trees or overhead power lines, noise and also privacy as having a flight altitude and GSD that is too low could result in the unintended consequence of capturing information that could be personally identifiable.
4.4 Post-Flight
Following the flight, make sure to check the imagery quality and completeness, safely storge the equipment and ensure the data captured is securely stored.
4.5 Post-Flight processing: Creating Orthomosaic
Drone captured images then need to be stitched together into one image or orthomosaic.
WebODM is a free software that can be used to create orthomosaics from drone captured-imagery. To install WedODM manually, follow the steps outlined here. Once installed, create a new project.Upload the images to create a task. After the task has been successfully completed, the orthomosaic will be ready to download. Select orthophoto.tif in the list of available formats and the single image output will download.
In addition to creating orthomosaics, WebODM can also produce Digital Surface Models or 3D models of the site.
A comprehensive checklist was created by the Humanitarian UAV Network]↩︎

